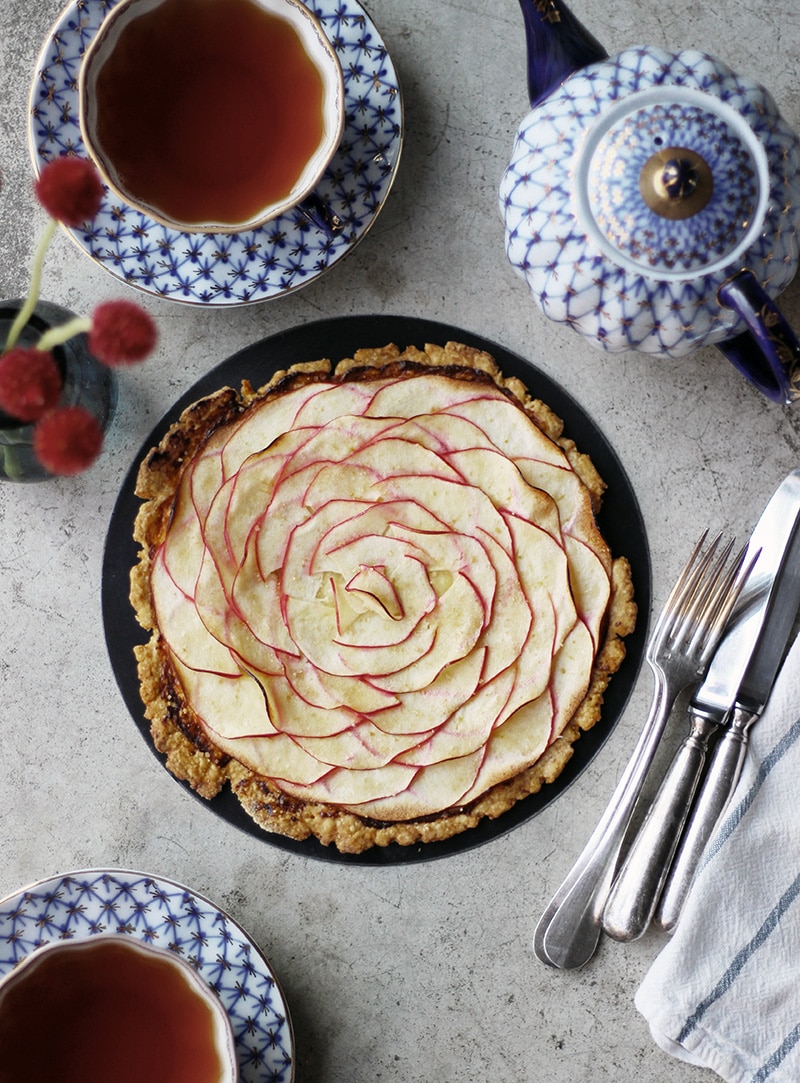
In my previous post, I shared my journey to uncover the perfect recipe for pate brisee. I was inspired by the many possible variations that use that dough as a base. So now it’s onto the next step: the filling. I decided to go with this beautiful Apple Blossom Tart.
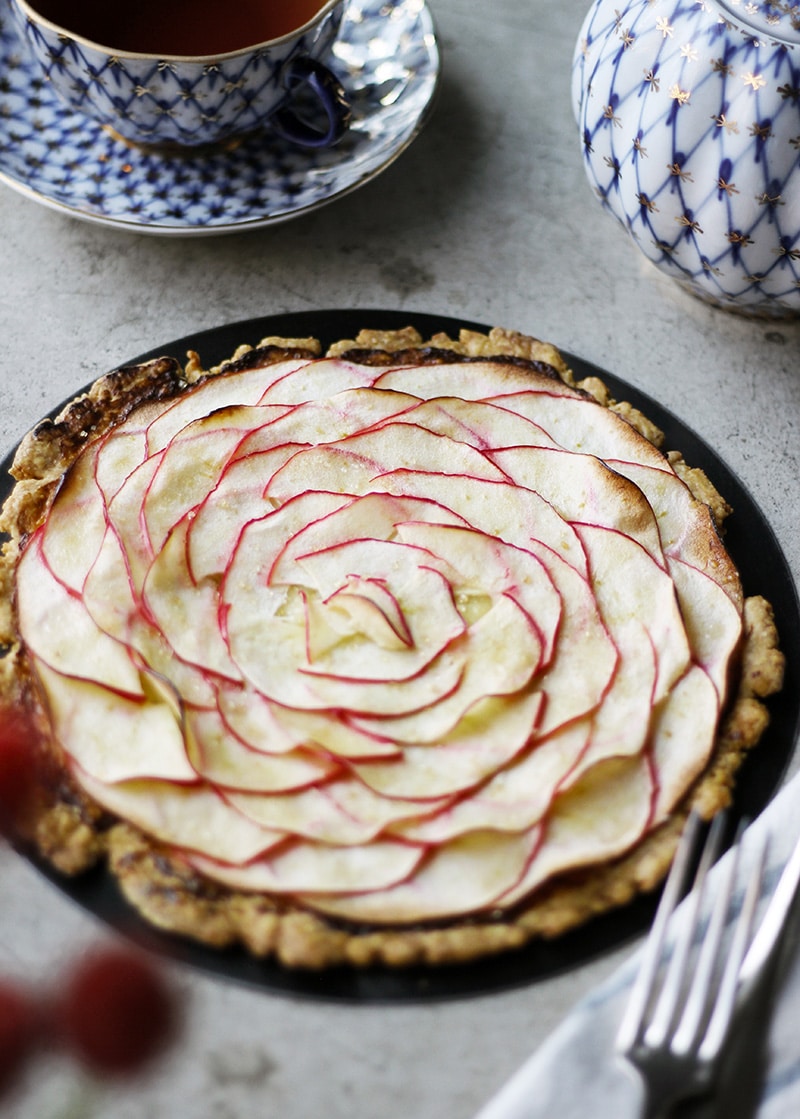
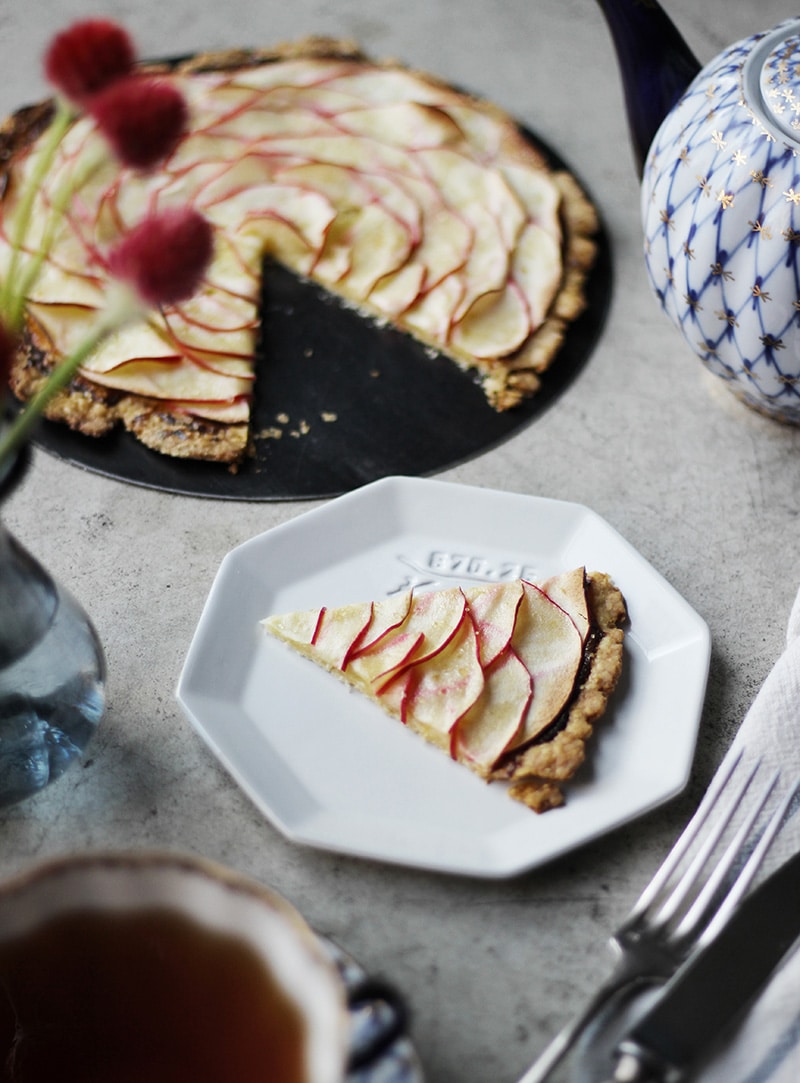
I call it an apple blossom tart because if you arrange the apples in a circle, it looks like a flower. But, of course, you can play around with your own design! The combination of buttery crust, the sweetness of the cream, and the tangy taste of the apples makes it particularly memorable. I chose this one to share because it has a pizza-like finish that saves time and waste since the dough doesn’t need to be cut or molded. It looks beautiful and tastes delicious and is sure to please whomever you give it to.
In relation to the pate brisee recipe, you will only need half of the dough made. I think it’s just the right size to serve two people. Refrigerate the dough for at least 1 hour before using it. If possible, let it cool for 2-3 hours to tighten the gluten. If the dough is frozen, move it to the refrigerator the night before use and let it thaw overnight. Keep it in the refrigerator until just before using it.
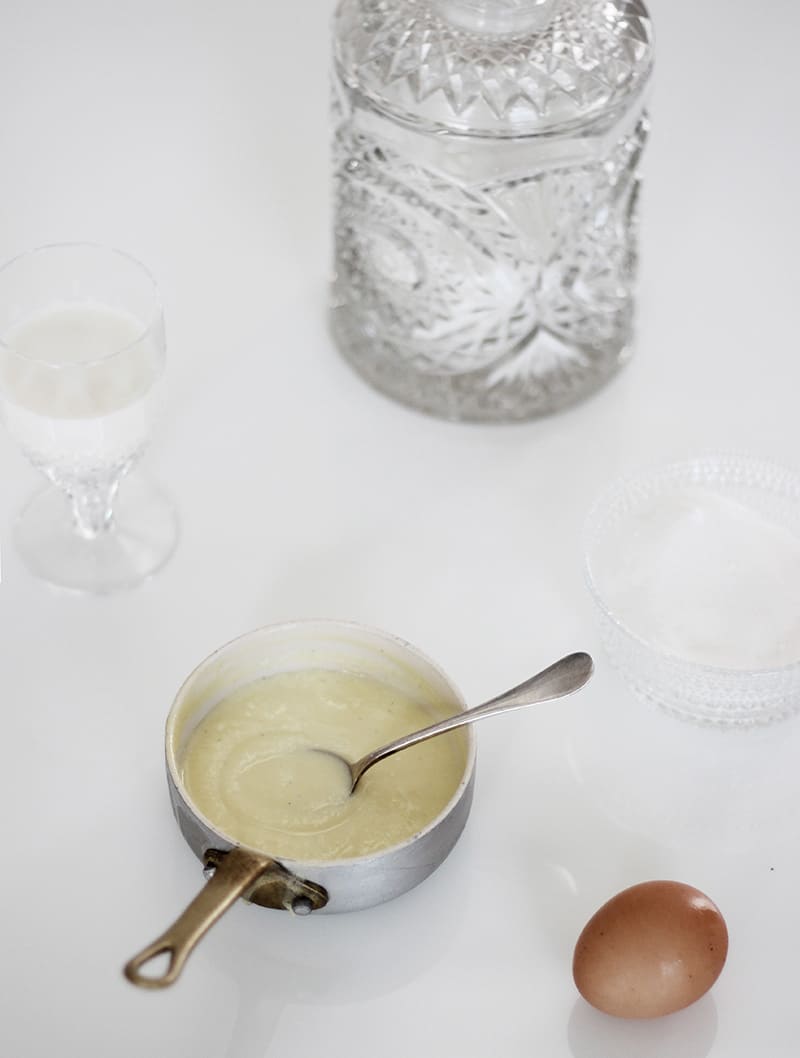
About cream
For a lighter cream use Crème Anglaise. Crème anglaise is similar to custard, but it is smoother because it doesn’t use flour. It has almost a soup-like consistency.
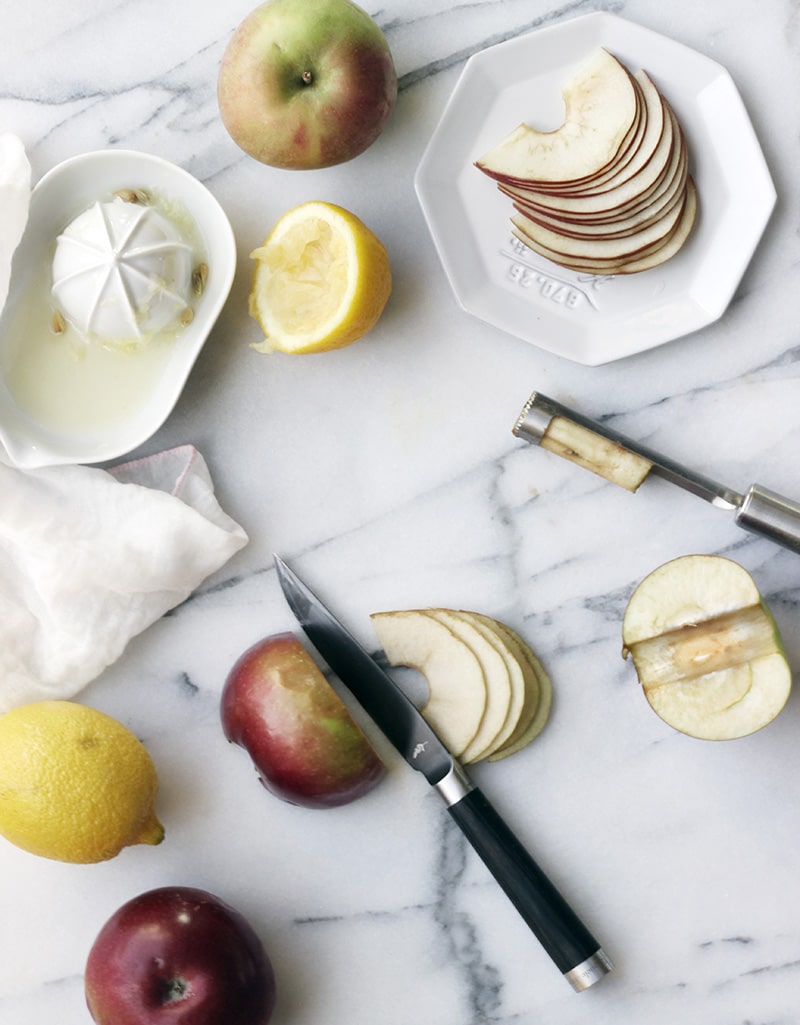
Apples to use
Any apple can be delicious. Even the softer apples that are usually not suitable for apple pies are suitable for this tart. I prefer apples with a tangy taste rather than apples with a strong sweetness. For apples available in the United States, I recommend McIntosh and Cortland.
Tips for rolling out the dough
The butter should be marbled (or speckled) and visible in the disk, even as you roll out the dough. When these spots of butter melt as the dough bakes, the butter will help separate the dough into beautiful flaky layers.
When rolling out the dough, it is important to move quickly and avoid touching it with your hands as much as possible. The heat from your hands will melt the butter! Here is my preferred approach:
First, lay out all your tools before taking the dough out of the refrigerator. Ensure your rolling pin, flour, and wax paper are within easy reach.
Spread the wax paper and dust it with flour. Place the dough on top, sprinkle the flour again. Be sure to use the flour sparingly so that it doesn’t impact the delicacy of the pate brisee.

Then, roll out the dough with a rolling pin. The idea is to roll the dough outward from the center to the edge, and to not roll inward. Turn the dough by rotating the wax paper (so you don’t need to touch the dough) by about 45 degrees. And again, roll dough outward from the center to the edge. Rotate and repeat as necessary. If the dough starts to stick, flip occasionally and apply a light dusting of flour as necessary.
Remember to touch the dough as little as possible so as to not melt the butter. Also, the more you handle the dough, the more gluten will develop, the tougher your pie crust may be. Keep working the dough with your rolling pin until it has a uniform thickness. By working systematically, it’ll be easier to make a beautiful circle without overworking it.
Sliced Apple Blossom Tart
 *Use one-half of this Perfect Pate Brisee recipe for one 8' tart
INGREDIENTS
- Pate Brisee, one-half of the recipe linked above*
- 1 apple
- 1 tbsp. Lemon juice
- 1 tbsp. sugar
Creme anglaise
- 1 tbsp. sugar
- 1 egg yolk
- 3/8 c milk
- 1 inch vanilla bean
- Demerara sugar, for garnish
INSTRUCTIONS
Preparation
- Cut the apple in two, remove the core, and slice crosswise as thinly as possible. Then sprinkle with lemon juice and sugar and leave for a few hours.
- Preheat the oven to 400°.
- Fill a large pot or bowl with ice water so that the creme anglaise can be cooled immediately.
Instructions
- Roll out the dough (see "Tips for rolling out the dough" above). When it becomes a circle of about 8 inches, refrigerate the dough again for about 15 minutes to tighten the gluten.
- In the meantime, create creme anglaise.
- In a saucepan heat the milk and vanilla beans split lengthwise just until it starts to boil.
- Whisk sugar and egg yolk in a medium bowl until well blended.
- Gradually whisk hot milk mixture into yolk mixture.
- Remove vanilla pod and pour the mixture back into the saucepan and cook over low heat.
- While constantly stirring with a spatula, heat for about 5 minutes until it thickens. Never bring it to a boil. Whenever it is about to boil, remove it from the heat.
- When it becomes thick, remove it from the heat and soak it in the prepared ice water to cool it.
- Remove the dough from the refrigerator.
- Dock (prick with a fork) all over the dough and bake at 400° for 8 minutes. Rotate the dough 180 degrees halfway through to prevent uneven baking.
- Remove the dough from the oven, spread creme anglaise, arrange apple slices in any shape you like, and sprinkle with demerara sugar.
- Reduce the heat to 375° and bake for 25 minutes to complete.
- Please, enjoy your Apple Blossom Tart freshly baked.
[Photos and styling by Hitomi Watanabe Deluca]