I only began baking about 10 years ago.
My husband Giorgio loves baked goods, especially the French kind made with fruit. Whenever we went to Paris, we would always visit a myriad of pâtisserie and enjoy the tartlets and pastries using seasonal fruits. We would both lament about how easy they were to find in Paris, but in New York they were nowhere to be found! So upon my return, I felt that I had no choice but to make them myself. Little did I know the battle that would ensue…
I went into the process very confidently. First, I made a plum tart based on a “foolproof” recipe I found on the net. This “foolproof” tart, which could be made without getting your hands dirty, was a big mistake. It looked and tasted terrible. This ignited my fighting spirit.
The goal was to make a tart that Giorgio was happy with and he gave some very sage advice: “Don’t try various things, focus on one item and make it 100 times first.” It may have started as wanting to make a tart for him, but now it was a challenge. One that I would not yield to.
So I choose to make the tart dough, Pate Brisee. There are many types of tarts that can be made depending on the fillings so I knew mastering it would be wise.
I baked that little tart like crazy. I began with research, gathering information from books and online. Then, in order to make the perfect dough, I changed the ratio of flour, fat and oil little by little, comparing the taste. Then we compared different manufacturers of butter and flour. To get good at anything, one must practice daily, and since I wasn’t good at it, I was baking it once before and after work. Baking the tart twice a day, the task of 100 times passed in no time.
This is how I developed my own Perfect Pate Brisee.
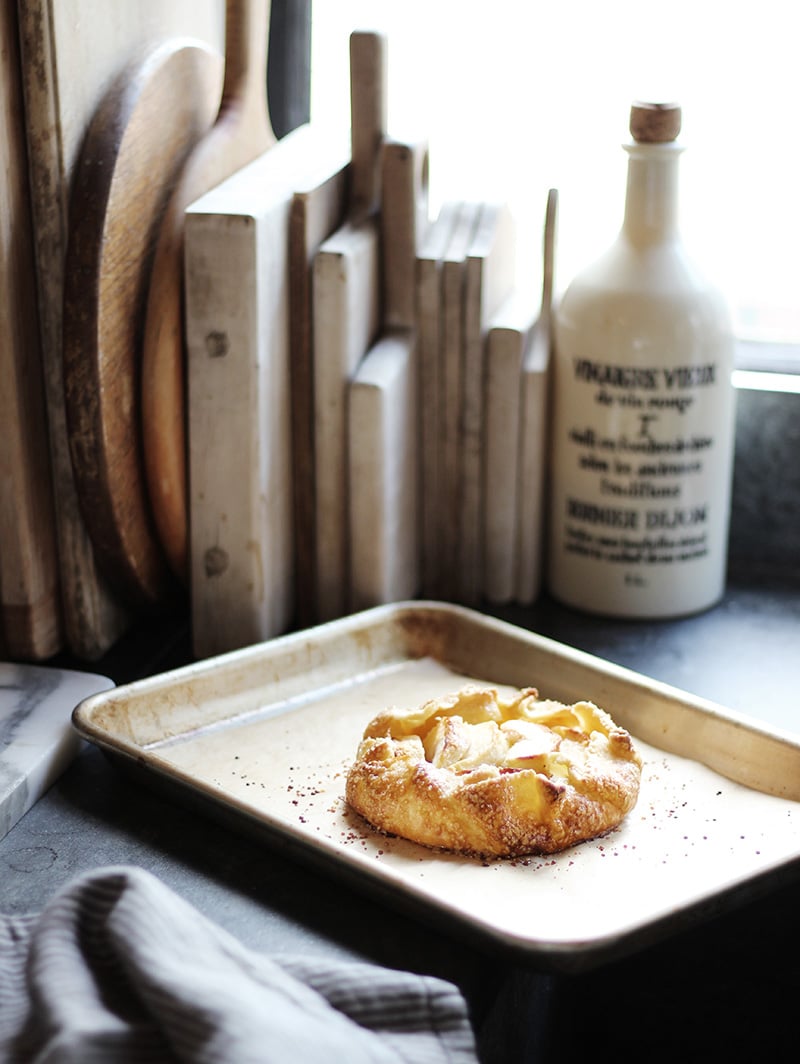
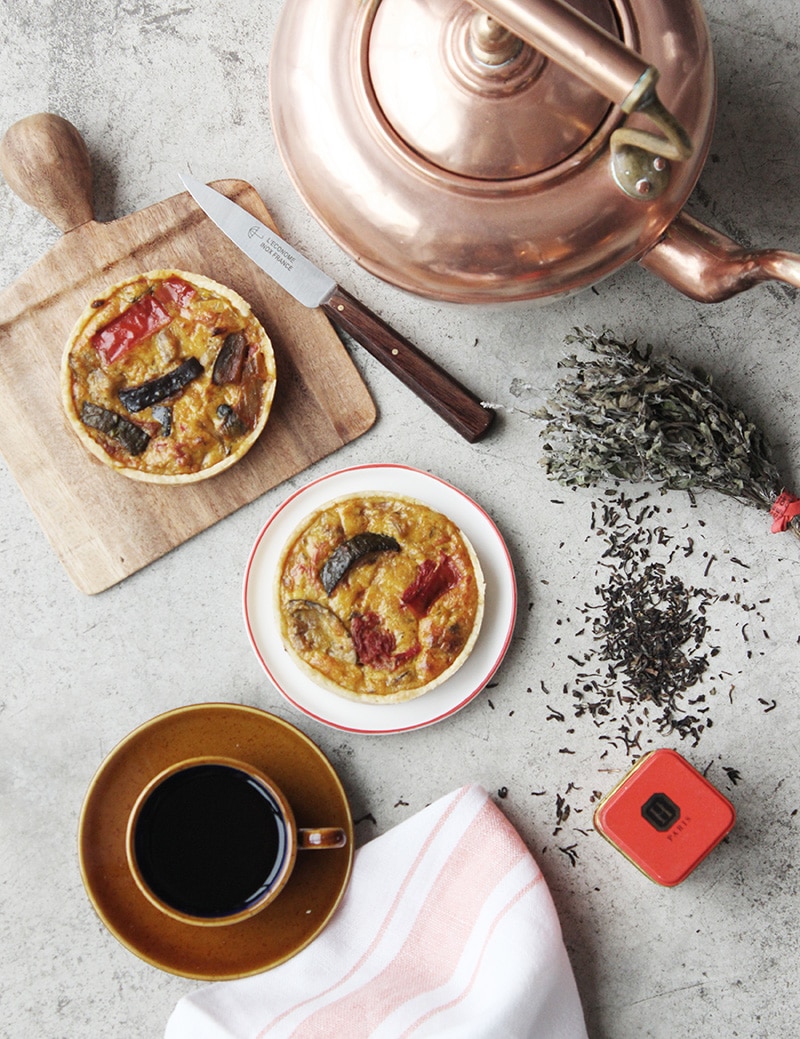
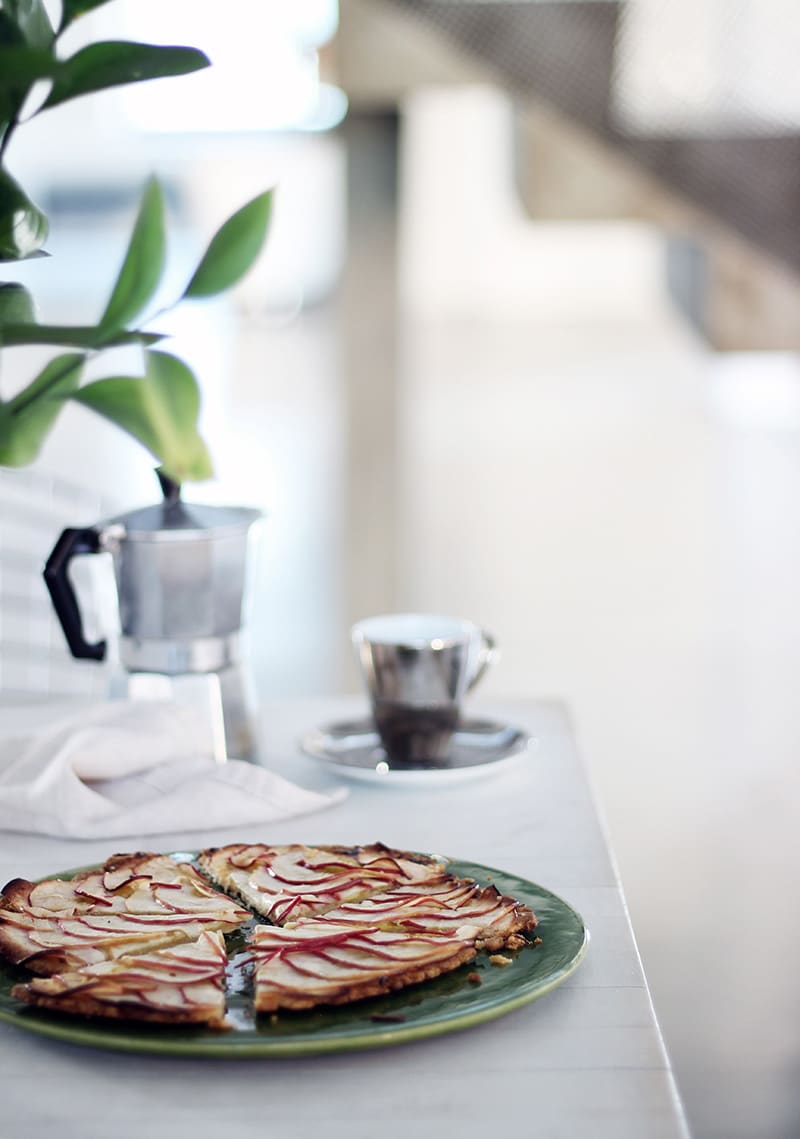
With this base, you can make countless tarts. Not only sweets but also savory dishes such as quiche. The fruit tart was my goal, and while I often still struggle, Giorgio has 100% endorsed the recipe.I had been baking every day for at least a year since the tart battle began. After that, I started to try other sweets, and the number of endorsed recipes increased. That slowed once my son was born six years ago, limiting my baking time to once a week. I am happy to be able to give my son a safe snack, and above all, I’m happy that Giorgio eats it with great gusto and joy.
About flour
For this recipe, I use Pastry Flour which has less protein than All-purpose flour. It has a protein level of 8-9%, but it varies from manufacturer to manufacturer, and I like the lower King Arthur Flour (8%) and Daisy Flour (7.5-8.5%). And, since it is low in gluten, you can make sweets with a more delicate texture.
About food processor
I usually use a food processor to make the dough. However, I recommend you try making it without using a processor the first few times so you can feel the texture of the dough by hand.

Refrigerate the dough for at least 1 hour before using it. If possible, let it chill for 2-3 hours to tighten the gluten and make it a delicate dough.
If it is refrigerated, it can be used within a few days without any problems.
If frozen, it can be used for a month or two without any problems. In that case, move it to the refrigerator the day before use and let it thaw overnight. Keep it in the refrigerator until just before use. Enjoy!

[Photos and styling by Hitomi Watanabe Deluca]

